PrettyPi Raspberry Pi
PrettyPi: A TODO List for Raspberry Touchscreen with Web Interface
Posted by Mohammed Q. Hussain on .I would like to introduce the first release of PrettyPi. It’s a todo list application which is intended to by used in Raspberry Pi with Touchscreen, it can be used with normal screens also. I needed a way to always remember my tasks by showing them in front of me all the time, to realize that I used Raspberry Pi with its official Touchscreen and PrettyPi and I got some good results :-)
PrettyPi has two components, the user interface which is intended to run on the touchscreen all the time. It shows your not-completed tasks and whether you’re working on some of them or not.

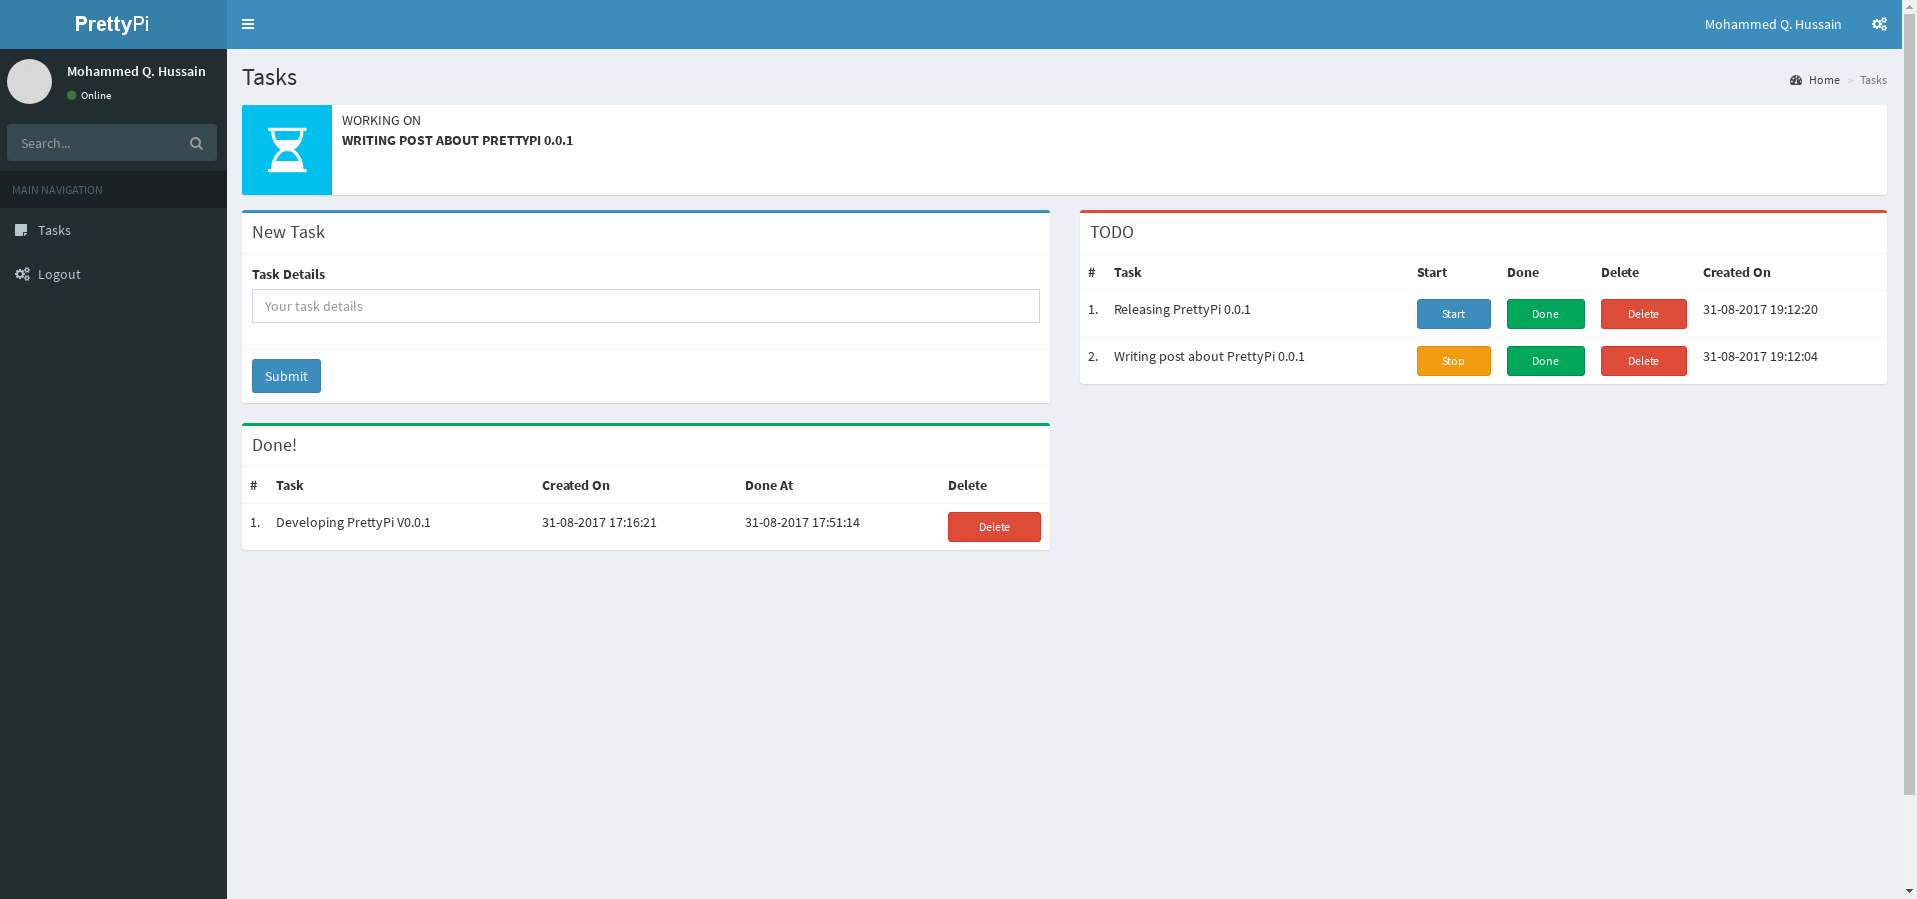
The second component of PrettyPi is the control panel. It’s a web interface that lets you control the user interface remotely. You could add tasks, delete them, marking them as done and set a task that you are currently working on.

Technologies
Of course without the huge contributions of open source community our work will be a lot harder, I would like to thank all contributors of the great open source community :-)
I used multiple technologies to implement PrettyPi, and here the major of them: The Programming Language Python, Kivy Framework, KivyMD Widgets, Python Arabic Reshaper Library, Flask Web Microframework, SQLite DBMS and AdmitLTE template which gave the control panel a really pretty shape :-)
Installation Guide on Raspbian
First, install Kivy on your Raspbian, here is the official guide. And make sure that SQLite3 is installed on your Raspberry Pi.
Installing KivyMD:
If git isn’t available in your Raspbian, install it first:
sudo apt-get install gitThen, clone KivyMD’s repository and install it:
git clone https://gitlab.com/kivymd/KivyMD
cd KivyMD
sudo python ./setup.py install
Installing Other Dependencies
You need pip to install the other dependencies, so if it isn’t in your Raspian install it:
sudo apt-get install python-pipNow, install the dependencies
sudo pip install arabic_reshaper flask python-bidiConfiguring Kivy to Run With Raspberry Pi Official Touch Screen
Edit the file ~/.kivy/config.ini and in [input] section add the following lines (Source):
mouse = mouse
mtdev_%(name)s = probesysfs,provider=mtdev
hid_%(name)s = probesysfs,provider=hidinput
Installing PrettyPi
Get a copy of PrettyPi from here on your Raspberry Pi then extract the archive file. In PrettyPi’s parent directory you will find two files “run.sh” and “run_web.sh”. Set execute permission for both of them:
cd PrettyPi
chmod +x run.sh
chmod +x run_web.sh
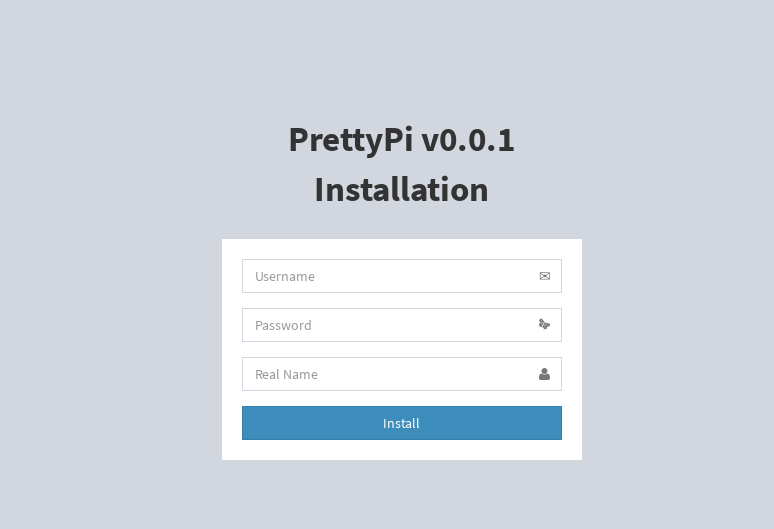
From your touchscreen run the file “run_web.sh” first, then run the file “run.sh”. After running the second file the user interface of PrettyPi will be shown on the screen. If the first file executed successfully, then the control panel is running on port 5000. From any machine that is connected to the same network (or even from your Raspberry Pi) go to http://[Your-Raspberry-Pi-IP]:5000 and the installation page will be shown.

Fill the fields then click “Install”, after the completion of the installation go back to the URL http://[Your-Raspberry-Pi-IP]:5000 and use the username and password that you entered in the installation page and you’ll get the main page of the control panel.
Demo Video
Repository and License
PrettyPi’s license is MIT and its GitHub repository can be found here.
